|   Home Home
 Bike
WorkShop Bike
WorkShop
 BB's
and Cranks BB's
and Cranks
Brakes
Chains
Cleaning
and lubrication
Mavic
Crossrides
GT
Idrive
Pre
Ride Checks
Punctures
RST
Forks
Size
Small
Tips
Suspension
Wheels
Riding
Tips
Play
Areas - EA
Play
Areas - Other
Routes
- EA
Routes
- Other
Reviews
Ride
Reports
Health
Gallery
Videos
Links
Our
Bikes
|
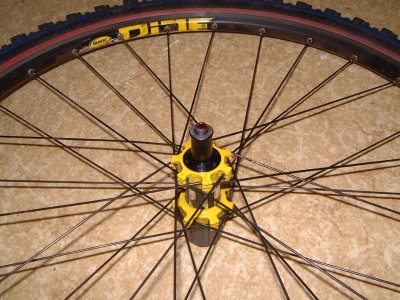
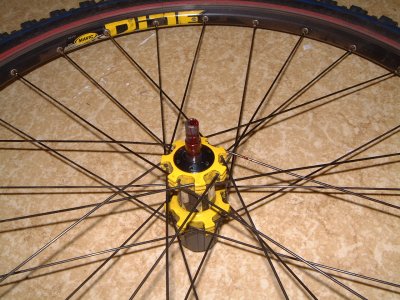
Mavic CrossRides
-
Under construction
The
Mavic CrossRide is a great wheel, making Shimano's stuff look like badly
made out of the ark stuff (sorry that's my Opinion) but like all moving
parts it does need looking at every now and again. This little bit is
basically me replacing the Freehub on my Mavic CrossRides, but I think
that as this involves taking the entire wheel to bits ... it might be
of help to the rest off you
Things
you will need
-
The
little tool that comes with the wheels
-
12mm
Allen Key (for taking the FreeHub off)
-
A
long screwdriver (for knocking the bearings out)
-
A
hammer (To hit the long screwdriver with)
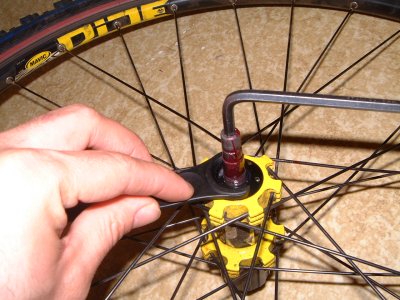
How
we Go about it all
- First off remove
the skewer and the cassette
- Then you need
to remove the little protection sleeve, it just pulls straight off
- This is when
you need the little tool that Mavic provide with the wheel, insert
a 5mm Allen key into the axle itself (nice design touch take note
shimano) and then using the tool provided turn clockwise until it
comes entirely off the axle (once you have it a fair way out you can
do this by hand)
- Now we need to
remove the bolts that hold the axle in on the hub side, still with
the 5mm Allen key in the axle remove the covering bolt
- Just underneath
this bolt is a little dust cover, you will need to keep this for when
you put the wheel back together, you might find a second lose 'band'
this is actually part of the free hub and will not be required when
you put the wheel back together
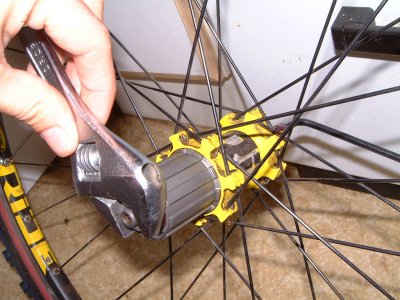
- Now comes the
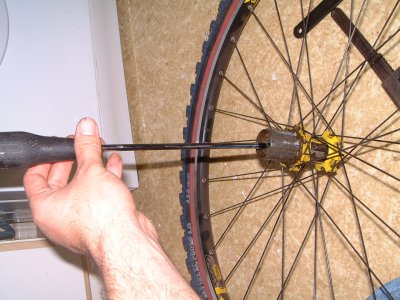
technical bit, with a long thin screw drive, pass it through the free
hub so that it rests on the bearings on the none driver side of the
wheel, and gently tap, the bearings should just drop out. You need
to remove these bearings even if they are OK as the Allen key to unlock
the free hub will not fit through the hold. The bearings on the drive
side are actually part of the freehub body and cannot be removed
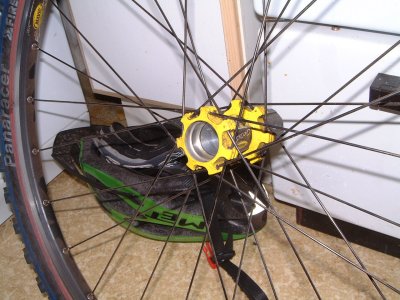
- OK you should
now have something that looks a bit like this
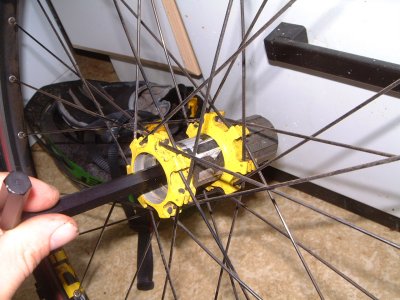
- With a 12mm Allen
key undo to bolt that holds the Freehub onto the hub body. This should
not be to tight as the design only uses the bolt to hold the hub in
place, the rotational forces are stopped by splines on the freehub
- Take your new
freehub and remove the locking bolt, place the freehub in place of
the old one, put the locking nut on the inside and do it up ... you
do not need to be over zealous in tightening this nut up.
|